Matter pairing, direct setup, and linked brand accounts each provide a different path for adding compatible products. That route puts smart lights, plugs, cameras, locks, and thermostats in one home view, while a mismatched route leaves the product undiscovered.
You’ll set up compatibility labels, phone permissions, Wi-Fi details, pairing routes, room controls, and fixes for devices that disappear after installation.
Compatibility Labels Determine the Setup Route
A logo on the package tells you which setup path fits the device. Matter, Works with Google Home, Thread, and Google Assistant labels describe separate ways that hardware reaches your Google Home app.
| Label or device type | What it means for your setup |
|---|---|
| Matter | You pair the device with a Matter QR code or numeric setup code in the Google Home app. |
| Works with Google Home | You link a manufacturer account, and Google Home imports devices held by that service. |
| Compatible hub device | Your product joins a hub, such as Philips Hue Bridge or Samsung SmartThings, then enters Google Home through that hub account. |
| Google Assistant service | Your product may offer voice control after account linking, though app controls and available features vary by brand. |
Matter is a shared smart-home standard. A Matter smart plug joins Google Home through its setup code, while a TP-Link Kasa plug starts in the Kasa app and reaches Google Home through account linking.
Check the package, printed setup card, product detail screen, and manufacturer app before pairing. Your documentation may show a Matter QR code, a Thread icon, or a Works with Google Home label that points you toward the right path.
Google Nest hardware expands control options
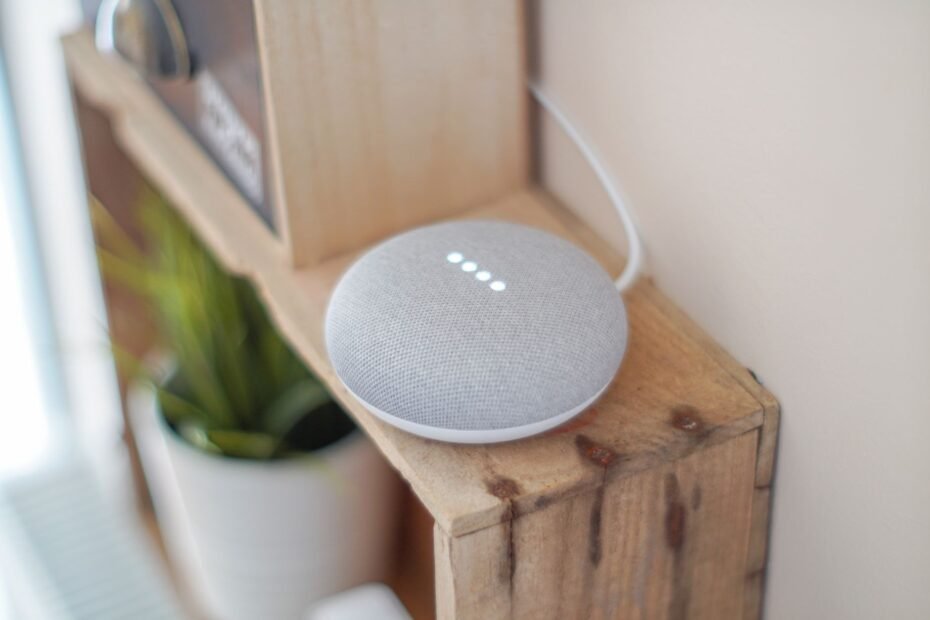
A Google Nest speaker or display gives you hands-free Google Assistant control and acts as a Matter controller in supported setups. Some Nest hardware also works as a Thread border router, linking Thread devices to your home network.
Your phone and Google account still set up many Google Home compatible devices without a Nest speaker. Nest hardware matters most for voice commands and Matter-over-Thread products, not every light, camera, lock, plug, or thermostat.
Once the device’s route is clear, shared Wi-Fi and phone settings become the main pairing variables.
Phone and Network Preparation Reduces Pairing Problems
That compatibility label selects the route, but your phone carries out the pairing. Google Home device linking depends on the account, app permissions, Bluetooth access, and local Wi-Fi connection already active on your phone.
Account and permission settings establish local access
Sign in with the Google account that you plan to use for household control. Your Google Home app needs an existing home, or you can set up a home during pairing and name it for the physical location.
- Use home Wi-Fi: Put your phone on the Wi-Fi network that the device will join rather than cellular data.
- Allow Bluetooth: Turn on Bluetooth so your phone can locate nearby hardware during the opening pairing stage.
- Allow local access: Grant local-network or nearby-device permission so Google Home can find hardware on your network.
- Allow camera access: Permit camera use for a Matter QR code scan instead of typing the long setup code.
- Charge the device: Keep battery-powered locks, sensors, and cameras charged through setup so power loss does not interrupt pairing.
Guest Wi-Fi and an active VPN can block local discovery. Leave both before setup, return to your main home network, and reopen Google Home.
Wi-Fi band and router settings affect discovery
Many older smart lights, plugs, cameras, and thermostats join only 2.4 GHz Wi-Fi. A combined 2.4 GHz and 5 GHz network can work because your phone still reaches the same router, though a separate 5 GHz-only network can block onboarding.
Router client isolation also blocks a device from seeing your phone or hub. Turn off isolation for your main home network, then place the product within a few feet of the router during its initial setup.
Your phone needs the intended home network during setup because Google Home uses local access to locate nearby hardware. A guest network separates devices from each other, so a phone on guest Wi-Fi may see no pairing result at all.
Three Setup Routes Cover New and Existing Devices
With permissions ready, the setup code or brand label makes the next choice clear. You can add a device to Google Home through Matter pairing, direct discovery, or an existing manufacturer account.
| Route | Use it for | Typical example |
|---|---|---|
| Matter pairing | A device with a Matter QR code or numeric setup code | A Matter smart plug scanned inside Google Home |
| Direct Google Home setup | Eligible hardware Google Home finds during nearby setup | A supported Google Nest device or direct-compatible accessory |
| Brand account link | Products already held in a manufacturer cloud service or hub | Philips Hue lights through Hue, or SmartThings devices through Samsung SmartThings |
Use Matter pairing for new hardware with a Matter code. Choose direct setup for hardware listed during Google Home discovery, and use a linked service for brands that keep device records in their own account.
Some products need the manufacturer app before Google Home sees them. A hub-based system, a camera with brand-specific settings, or hardware awaiting firmware updates needs that app before you link smart home accounts to Google Home.
Avoid parallel onboarding where the brand permits a single route. Pairing the same Matter device in its brand app and Google Home can leave two tiles, two automation sets, and uncertainty about which tile controls the physical device.
Avoiding those duplicate controls begins by recognizing when Google Home, rather than the brand app, should own pairing.
Matter and Direct Setup Use the Google Home App
The Add button is the entry point for both local routes. Keep the product powered, reset, and in pairing mode before opening the menu, since pairing mode can end after a short window.
Matter pairing follows five visible steps
- Open Google Home: Select Add, then choose Set up device from the available options.
- Select your home: Confirm the household where you want the new tile and room assignment to appear.
- Scan the code: Scan the Matter QR code with your phone camera or enter the numeric code manually.
- Keep pairing active: Leave the device nearby and powered until Google Home confirms that it joined.
- Check the tile: Confirm that the device appears in the selected home before closing the setup screen.
Matter setup codes act as security credentials, not package decoration. Keep the card or save a photo of the code for your records, because a factory reset may require the same code again.
Thread hardware needs a border router
A compatible Thread border router lets Matter-over-Thread sensors and locks join your home network. A supported Nest Hub, Nest Wifi Pro, or another Thread-capable controller bridges the low-power Thread mesh to your Wi-Fi network.
Matter devices using Wi-Fi or Ethernet follow a different path and do not need Thread hardware. That difference explains why your Matter bulb may pair while a Matter-over-Thread sensor stalls at the same point.
Do not factory-reset a device during a slow initial connection. Wait for the app message, remove any older pairing, and reset only after that route has failed.
Brand Account Linking Brings Hub and Cloud Devices Into Google Home
Products held in a brand service appear after Google Home receives permission to view that account. This route fits a Philips Hue Bridge, Samsung SmartThings hub, or TP-Link Kasa account that already holds several devices.
Linked services import devices from the matching account
Open Google Home, select Add, choose Works with Google Home, and locate the manufacturer or service. Sign in with the same brand account used during onboarding, approve access, and allow Google Home to import available devices.
A missing product after linking points back to the manufacturer app. Confirm that the device appears there, has current firmware, and belongs to the same account that you used during Google Home device linking.
Room assignments and names improve voice control
Give each device a short name tied to its location and purpose. “Bedroom lamp” and “Bedroom fan” produce clearer commands than two devices both named “Lamp.”
Room assignment also groups controls in the app. After you place a thermostat in Living Room, you can say, “Set the living room thermostat to 70,” while “Turn off bedroom lights” reaches each light assigned to that room.
- Name by location: Put room names before product names, such as “Kitchen pendant” or “Hall plug.”
- Avoid duplicate labels: Give each lamp, switch, and speaker a distinct spoken name.
- Group related hardware: Put lamps and bulbs in the room where you speak the command.
- Review household access: Share the home only with trusted household members who need device control.
Clear naming also helps you spot duplicates after account linking. A second tile named “Kitchen pendant” signals that your Matter route and manufacturer account route both imported the same hardware.
Symptoms Point to Specific Connection Fixes
A tile that vanishes, duplicates, or shows offline points to a small set of causes. Start with the displayed symptom rather than repeating every setup step, because each failure needs a different correction.
| Symptom | Cause | Practical fix |
|---|---|---|
| Device is not found | Phone is on guest Wi-Fi, a VPN is active, or pairing mode ended | Use the main home network, close the VPN, restart pairing mode, and retry. |
| Matter QR code fails | Camera permission, code damage, or an earlier pairing blocks setup | Allow camera access, enter the code manually, then remove earlier setup before resetting. |
| Linked account imports nothing | Wrong brand account or a device missing from the manufacturer service | Check the brand app, refresh the linked service, and sign in again with the matching account. |
| Duplicate device tiles | Device entered through Matter and a linked brand account | Keep one route, remove the duplicate tile, and avoid parallel automations. |
| Device shows offline | Weak Wi-Fi, inactive hub, old firmware, or lost power | Restore power, check the hub, update firmware, then restart the device. |
Factory reset belongs near the end of the process. Remove the device from its older Google Home or manufacturer setup before resetting, or your home may retain a stale entry that blocks a clean return.
Use the table to troubleshoot devices not showing in Google Home without erasing working settings. Your next check should match the symptom: network access for discovery, account access for imports, or power and firmware for offline tiles.
After you connect smart home devices to Google Home, keep firmware current and leave linked brand accounts active. Review household access after a move or router change, then run Google Home sync controls after a manufacturer account gains new hardware.
Reliable Control Starts With the Correct Route
Your setup starts with the label, not the app menu. Matter codes belong in Google Home, brand-managed products belong behind a linked account, and Thread hardware needs a border router.
Clean Wi-Fi access and clear room names keep your controls usable after pairing ends. With one setup route per device, your smart-home tiles stay easier to identify, group, and control through Google Assistant.
FAQ
How do I add a new smart home device to the Google Home app?
The Add menu in the Google Home app starts the setup process for a new device. You scan a Matter setup code for Matter hardware, follow direct discovery for eligible products, or choose Works with Google Home and sign in to the manufacturer account for brand-managed devices.
How can I tell whether my device works with Google Home?
Check for a Matter label, a Works with Google Home label, or a manufacturer service listed inside Google Home. Your product also works through a compatible hub, such as Philips Hue Bridge or Samsung SmartThings, after the hub account links successfully.
Do all smart home devices need a Google Nest speaker or display?
No. Your phone and Google account can set up many devices without Google Nest speakers and displays. A Nest speaker or display adds voice control, while Thread-capable Nest hardware helps Matter-over-Thread products join your home network.
How do I connect a Matter device to Google Home?
Select Add in Google Home, choose Set up device, and scan the Matter QR code or enter the printed numeric code. Your Matter device needs pairing mode, and a Matter-over-Thread product also needs a compatible Thread border router.
Why is Google Home not finding my smart device?
Your phone may be on guest Wi-Fi, connected through a VPN, missing Bluetooth permission, or blocked by router client isolation. Put the device in pairing mode, use your main home network, allow local access, and keep the device close to the router.
How do I link a brand account such as Philips Hue, TP-Link, or SmartThings to Google Home?
The Works with Google Home menu lets you sign in to Philips Hue, TP-Link, SmartThings, and other manufacturer services. Approve account access, then check that imported devices appear in the correct home and room.