
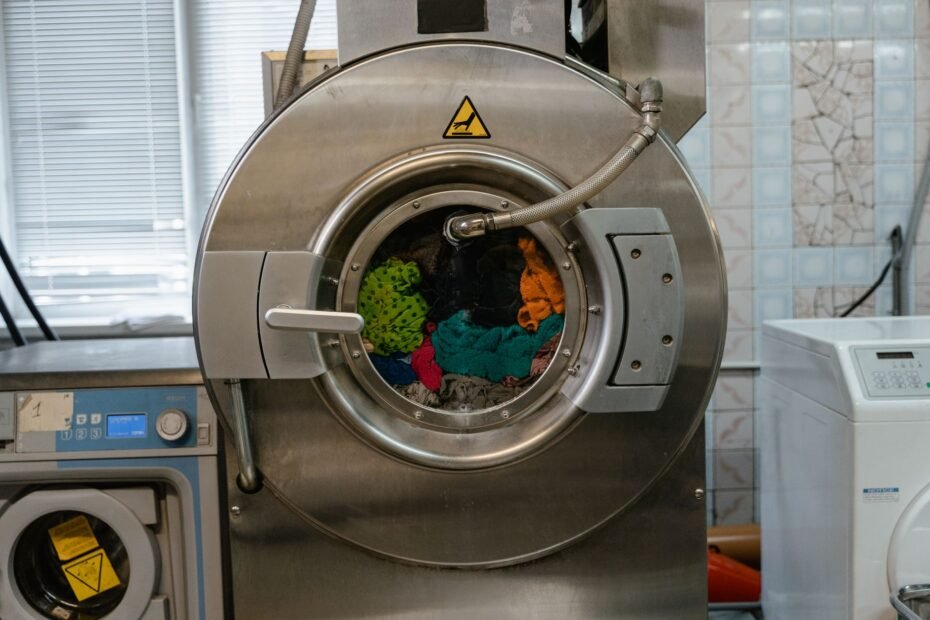
After unplugging an electric dryer, detach the transition duct, vacuum loose lint, and guide a flexible brush into the wall opening. This indoor approach clears accessible, fairly straight metal runs and can restore airflow after lint turns a normal load into two drying cycles.
This guide covers warning signs, appliance-safe setup, indoor duct access, brush-and-vacuum techniques, and airflow testing for homeowners tackling a reachable dryer vent line.
Restricted Airflow Causes Clear Warning Signs
A clothes dryer needs an open exhaust route to move heat and moisture outdoors. Lint that passes the lint screen collects inside the dryer exhaust transition duct and wall duct, narrowing the passage over time. Your dryer then runs hotter and needs longer to dry the same load.
Drying Changes Point to a Restriction
Longer drying cycles are a clear sign that exhaust air is struggling to leave. Damp towels after a full cycle, a hot laundry room, or a burning odor all point toward an airflow problem. Your next load can reveal the change, especially after a routine that once dried heavy fabric in one cycle.
- Long drying times: Loads need another cycle because moisture cannot leave through a restricted vent duct.
- Damp fabric: Clothes feel warm but remain wet after a normal cycle, especially heavy cotton towels and jeans.
- Hot laundry room: Heat gathers near the appliance because exhaust air cannot move outdoors fast enough.
- Burning odor: Stop using the dryer until lint near hot components and the exhaust route have been inspected.
- Weak outdoor airflow: The exterior vent hood flap barely moves while the dryer runs on an air-only cycle.
A clean lint screen does not prove that the duct route is open. Fine fibers pass through the screen and settle farther along the duct, especially at elbows and low points. For example, a screen can look spotless while a packed ring of lint sits 6 feet from the dryer outlet.
Burning smells, visible smoke, or a dryer cabinet that feels abnormally hot call for immediate shutdown. Do not run another load until the source is found.
Lint buildup raises fire risk because lint burns readily and restricted airflow raises operating heat. The U.S. Consumer Product Safety Commission identifies clothes dryers as a household fire concern, so your drying delays deserve attention rather than another timer setting.
Because fire and exhaust hazards can worsen during a rushed repair, isolate the dryer before handling its vent connection.
Safe Preparation Protects the Appliance and Duct
Those drying symptoms point toward the exhaust route, but the dryer must be made safe before it moves. Unplug your electric dryer before pulling it forward. A gas dryer needs its gas supply shut off before movement or disconnection, and the gas connector should stay undisturbed unless qualified help handles it.
Basic Tools Reach Accessible Lint
A narrow vacuum attachment removes lint without shoving it deeper into the duct. Your dryer vent cleaning tools should stay simple, controlled, and suited to the route behind the appliance. A flashlight also helps you spot crushed sections that a brush cannot fix.
- Shop vacuum: Use a narrow attachment to collect lint from the dryer outlet, hose, and wall opening.
- Flexible vent brush: Feed a dryer vent brush through accessible metal ducting in short, controlled sections.
- Microfiber cloths: Wipe lint from the dryer back panel, floor, clamp, and connection collar.
- Work gloves: Protect your hands from sharp sheet-metal edges around the exhaust outlet and duct collar.
- Flashlight: Light reveals crushed hose sections, loose clamps, and lint packed near the wall opening.
Gardus LintEater and Deflecto kits use flexible rods and brush heads made for vent work. Your brush needs to match the duct material and diameter. Hard snagging at an elbow means the brush has met a bend or obstruction, not that it needs more force.
Metal Ducting Tolerates Brushing Better
Smooth rigid metal or semi-rigid metal ducting gives lint fewer ridges to cling to. Plastic and thin foil ducts can sag, tear, and trap debris in their folds. Your flexible transition hose should stay short, supported, and free of accordion-like compression.
Rotate brush rods slowly as they move forward. Forcing rods through a tight bend can separate a joint inside a wall or puncture fragile flexible ducting. A gas dryer also carries carbon monoxide risk where combustion gases cannot vent correctly.
Access Behind the Dryer Opens the Wall Duct
The rear dryer connection gives you the most useful indoor access point. Pull the appliance forward in small movements while watching the flexible transition hose. Your goal is enough working space without crushing, stretching, or pulling the duct away from the wall collar.
Removing the Transition Duct Clears the Entry
Loosen the clamp at the dryer exhaust outlet, then release the wall-side connector. Set the dryer exhaust transition duct aside after it is detached at both ends. That opening gives your vacuum attachment and brush a direct route into the in-wall duct.
Dryer vent cleaning from indoors works more thoroughly after that hose is removed. Clean a dryer vent from inside the house by vacuuming the disconnected duct, dryer outlet, and wall opening before inserting a brush. Your flashlight should show bare metal or an open path at the entrance.
Limited Access Leaves Deep Blockages Untouched
How to clean a dryer vent without moving the dryer has a narrow answer: vacuum the lint screen housing and reachable lint around the dryer outlet. That work clears surface buildup but cannot reach a restriction farther inside the wall. Your drying symptoms carry more weight than a clean-looking area near the appliance.
Inspect the removed transition duct before putting it back. Look for kinks, tears, loose connector rings, crushed ribs, and lint trapped in folds. For example, a hose flattened behind the dryer can restrict airflow as much as a partly clogged wall duct.
Do not tape a torn foil hose and place it back into service. Replace damaged flexible ducting with a suitable metal connection before running the dryer.
Indoor Brushing Removes Lint From Reachable Duct Sections
Loose lint near the wall opening should come out before a brush goes in. Vacuum the dryer exhaust outlet, both ends of the removed transition duct, and the reachable wall duct entrance. Your vacuum catches fibers that a brush could drag farther down the line.
Slow Brush Passes Protect the Duct Route
- Start shallow: Insert the flexible vent brush a short distance into the wall opening and rotate it slowly.
- Advance gradually: Add rod length only after the brush moves without snagging or abrupt resistance.
- Withdraw regularly: Pull the brush back every few feet and vacuum lint from the bristles before another pass.
- Clear the entrance: Vacuum the wall collar again because loosened lint gathers near the opening.
- Inspect the path: Use your flashlight to look for visible debris, separated metal, or a damaged duct edge.
This method explains how to remove lint from dryer vent pipe without compressed air or brute force. A flexible vent brush loosens packed lint, while the shop vacuum collects it at the reachable end. Your hands should feel steady resistance, not a hard stop or a twisting rod.
Long Runs Limit Indoor Reach
Indoor brushing can clear a substantial reachable length, yet a long run with several elbows can remain partly blocked. Roof exits, concealed crushed ducting, and duct runs above finished ceilings set limits that a short dryer vent cleaning kit cannot overcome. Your result is incomplete whenever the brush stops well before the route ends.
A drill-powered rotary brush suits compatible metal duct runs, not sharply bent foil or plastic ducting. Follow the tool maker’s directions and keep the speed controlled. A drill can spin a brush into a knot inside a fragile hose and leave you facing duct replacement.
A leaf blower is a poor indoor choice because it can scatter lint through the laundry area or force debris against an exterior vent hood. Your shop vacuum works well for reachable lint, but its hose alone rarely reaches far enough to clear a long duct route.
A clean-looking reachable section does not confirm a clear exhaust path, making a final functional check essential.
Reassembly and Airflow Checks Show Whether the Route Is Open
A clean wall opening means little with a kinked hose behind the appliance. Reconnect the transition duct at both ends, tighten the clamps, and shape the hose into the shortest practical path. Your duct should not sag, pinch, or fold as the dryer moves back into place.
Air-Only Operation Checks Exhaust Flow
Restore electric power after the duct connection is secure. Restore gas service only after the gas connection has stayed untouched. Run the dryer on an air-only or no-heat setting for several minutes to move air through the system without adding appliance heat.
Walk to the exterior vent hood while the dryer runs. The hood flap should open and release a clear stream of air. Your exterior vent hood needs open louvers and a debris-free area around it, but leaves or nesting material should not be pushed back into the duct.
Persistent Symptoms Signal a Problem Beyond Reach
- Weak hood airflow: A remaining blockage can sit beyond brush reach or behind a concealed elbow.
- Hot appliance area: Shut the dryer down and inspect the full exhaust route before another heated cycle.
- Slow drying continues: Look for a crushed hose, stuck exterior flap, or lint farther along the duct.
- Hood flap stays shut: Inspect the outlet for blockage or request service for an inaccessible exterior route.
For example, a 20-foot duct with three turns can feel clear for several feet yet stay restricted near its final elbow. Your airflow check exposes the gap between visible cleanup and actual exhaust performance.
Results from that check help distinguish a one-time blockage from a duct layout needing closer ongoing attention.
Maintenance Timing Depends on Drying Changes and Duct Design
The airflow check gives you a baseline for later loads. Clean your lint screen before every load, then wash it with warm water and mild dish soap after fabric-softener residue forms a film. A screen can appear clear while that film slows air passing through it.
Drying Time Sets the Cleaning Interval
How often to clean a dryer vent depends on laundry volume and duct design rather than a calendar date. Large households, long duct runs, several elbows, and dryer vent booster fans need closer attention. Your normal drying time is the practical reference point for spotting a change.
Check the exterior hood and flexible transition hose during regular laundry-area cleaning. A booster fan needs added attention because lint can collect around moving parts. Your inspection should focus on airflow changes, not only lint visible near the dryer.
Qualified Help Fits Complex Duct Routes
Qualified dryer-vent cleaning help is the right next step for long, concealed, damaged, inaccessible, or repeatedly clogged ducts. Dryer Vent Wizard is one service brand associated with this specialty, while local ventilation contractors can handle similar work. Your service request should describe the duct route, exterior exit, and airflow symptoms.
Gas appliances need a higher safety threshold. Contact qualified help after a gas connector needs disconnection, the dryer cannot move safely, or any gas odor appears. Your indoor cleanup should never turn into gas-line work.
Key Takeaways
- Start with safety: Unplug an electric dryer before moving it, and leave gas connections alone unless qualified help handles them.
- Remove the hose: Detaching the transition duct gives your vacuum and brush useful access to the wall opening.
- Brush with control: Slow passes protect metal ducting and reveal resistance from elbows, damage, or deep obstructions.
- Check outside airflow: An open exterior flap during air-only operation is the clearest sign that exhaust air is moving.
- Stop at limits: Long routes, fragile ducting, gas connections, and persistent weak airflow need qualified service.
FAQ
Can you clean a dryer vent from inside the house?
You can clear accessible lint from indoors by removing the transition duct, vacuuming the dryer outlet and wall opening, then using a flexible brush in the wall duct. Your reach has limits on long runs, roof exits, concealed damage, and routes with several sharp bends.
What tools do you need to clean a dryer vent yourself?
Your basic tool set includes a shop vacuum with a narrow attachment, a flexible vent brush, work gloves, microfiber cloths, and a flashlight. A drill-powered rotary brush belongs only on compatible metal duct routes where the brush can move without sharp bends or fragile foil material.
How do you clean a dryer vent without moving the dryer?
You can vacuum the lint screen housing and reachable lint around the dryer outlet without moving the appliance. That limited work clears nearby debris, but it does not reach lint farther inside a wall duct. Your dryer needs direct duct access after weak airflow, abnormal heat, or extended drying cycles continue.
Do you need to disconnect the dryer before cleaning the vent?
Direct wall-duct cleaning needs the transition duct disconnected at the dryer outlet and wall collar. Your electric dryer should be unplugged before that work begins. A gas dryer needs added caution because the gas connector should remain untouched unless qualified help handles the appliance movement.
How far can a dryer vent cleaning brush reach from inside?
Your brush can reach only as far as the rod length, duct bends, and duct material allow. A straight metal run gives the brush a clearer path than a route with several elbows, roof access, crushed sections, or flexible foil ducting. Hard resistance means the route has reached its safe indoor limit.
How do you know whether the dryer vent is fully clean?
Strong airflow at the exterior vent hood is the practical sign that the exhaust route is open. Your air-only test should open the exterior flap and produce a clear air stream. Continued slow drying, a hot appliance area, or a closed flap points to a blockage or duct problem farther along.